Question: How it is attached to the harness?
Answer:
There are two attachment buckles supplied that are used for attaching the pod to the harness near the Hang-Points / Karabiners or slightly below, depending on the harness (high or low hang points). These buckles have a webbing loop that is looped onto the harness, and can be left there even if flying without the pod. This means it is quick and easy to fit and remove the pod depending on your needs on any given day. It is possible to leave the pod attached to the harness during transport and storage ect, or to remove it and fit it in less than a minute. Before your first flight, you will need to hang your motor on a simulator (or tree of anything safe) to make the adjustments. It is supplied with a default setting for a pilot of 1.75m (Range of ~1.55m to over 2.0m)
Question: What additional arrangements are required to attach the Pod?
Answer:
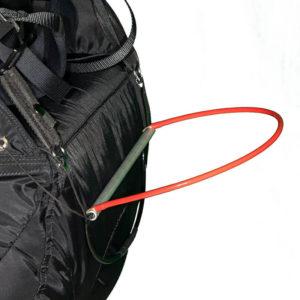
No additional parts are needed – the Pod is supplied with all the parts needed. In addition to the above mentioned buckles, there are some line loops supplied, which are attached to the base of the harness, and one (depending on the type of frame), attached to the center lower part of the frame. These Loops are in turn attached via a Kite-Knot (Larks-Head) to the supplied lines on the lower part of the Pod. A knots on these lines can be moved to adjust the length of the Pod, and once adjusted correctly, it is very easy to attache and detach these in the correct settings each time.
Question: How it is made to stay secure during take-off and not interfere with front cockpit (flight deck) bag or reserve and Take-off run?
There is a Magnetic attachment point on the nose of the pod, which is attached to a supplied mate that can be attached to the harness chest strap, shoulder retainer strap, or cockpit (again depending on specific configuration). This keeps the pod in a safe position for take-off, and is then easily released to enter the pod once safely off the ground.
Question: How do you put the harness on?
Answer:
The pod has a upper zip opening, and a lower opening for the feet that is similar to a paragliding pod harness, except that it is on the underside of the pod. To pod the harness on with the Pod fitted, one steps into the Pod from above, through the open zip, and then fit the harness as usual. Once checks are done, you can close the Zip, and attach the pod to the magnet so it is out of the way for launch.
Question: I see one connection goes to the bottom part of the frame – but how then the pod is put on from above?
Answer:
The Pod is entered from above through the Zip opening, and the feet exit the pod through the lower opening. The lower opening stays closed and sealed as long as your legs are resting in the pod.
Question: Does it require both hands or one hand to put on?
Answer:
After Take-off, the Pod is released from the Magnet with one hand, and then it is easy to enter the Pod just using your feet.
TIP: After take-off in snowy conditions, tap your feet together to shake off any snow/mud on your feet before releasing and entering the pod 🙂
Question: How it opens/closes from below and from above? Is it Velcro or just as is?
Answer:
The Top is closed by Zip before Take-off.
The bottom is sealed by a overlap of the fabric. There is NO “Velcro” used on the Pod.
Question: Is it completely tight from below the legs?
Answer:
The Pod seal is wind proof and does not allow cold air to enter.
Question: What is supporting pilot’s legs straight in the pod? (Because normally flying with your legs held forward is not so easy for long time)
Your legs are supported in a comfortable relaxed position by resting on the Foot Plate in the nose of the Pod. The Foot Plate is supported by adjustable webbing straps that are thread through the buckles looped onto the harness near the Hang-Point karabiners (Mentioned in the first point). It is more comfortable than you can imagine and does not require effort to hold your legs straight due to the support webbings.
Question: How the accelerator is supposed to get into the pod, as it is attached normally to the front below the seat, but the pod is put on from above?
Answer:
The accelerator remains in its normal position, but is now inside the pod and will be easy or even easier than normal to access once in the pod. Your legs remain inside the Pod while using the Speedbar. use one leg to get the speedbar, while keeping the other resting on the footplate. The Pod works very well with our WonderBar. It is recommended to use stoppers to keep the speedbar high for takeoff (This is the same as normal when flying without the Pod).
Question: How long is the pod? (as I have pretty long legs)
The Pod is “One Size Fits All”, which is adjustable to suit pilots from ~1.55m to over 2m in length (Again this is slightly dependent on specific equipment used.
Question: What if anything do I need to do before landing?
Answer:
Simply lower one leg first through the slit in the underside of the pod, then follow with the second. It is possible to land without raising the pod and attaching it to the magnet, but we strongly reccommend that you do. this should be done before you are on final approach, so that it is not done in a rush close to the ground. this is done easily with one hand.
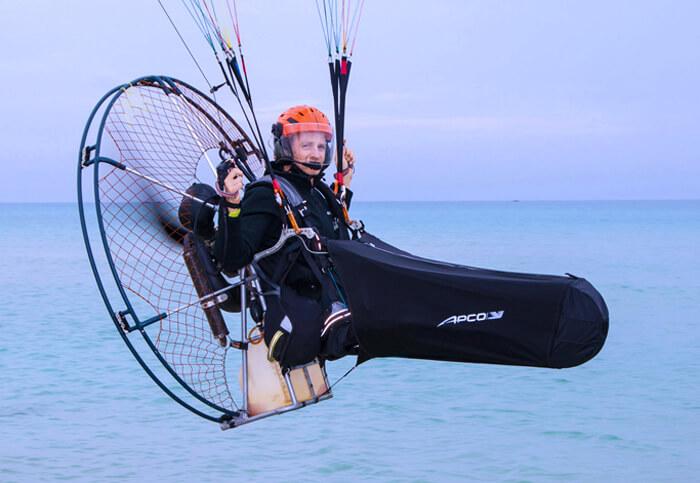


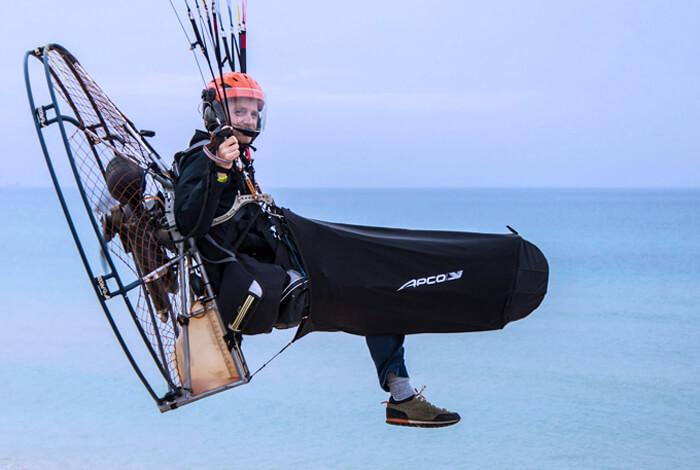
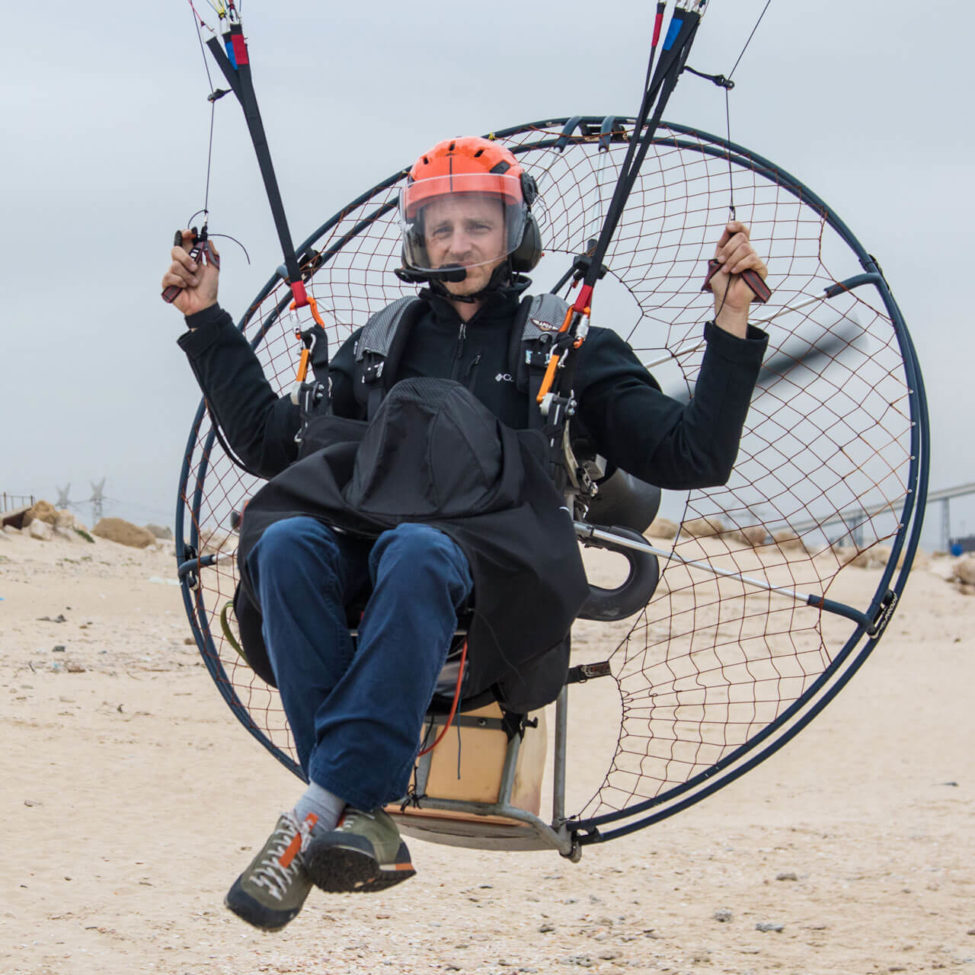

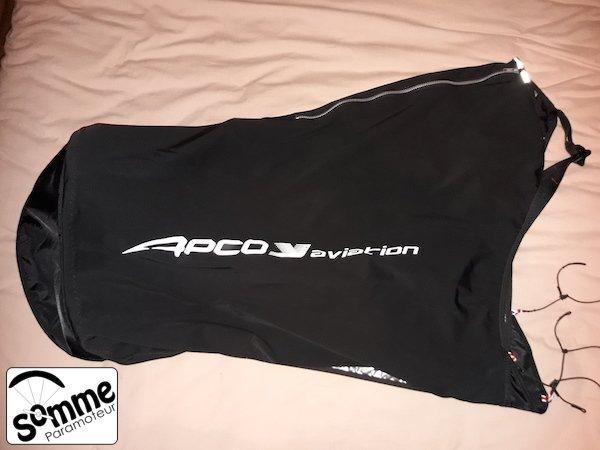
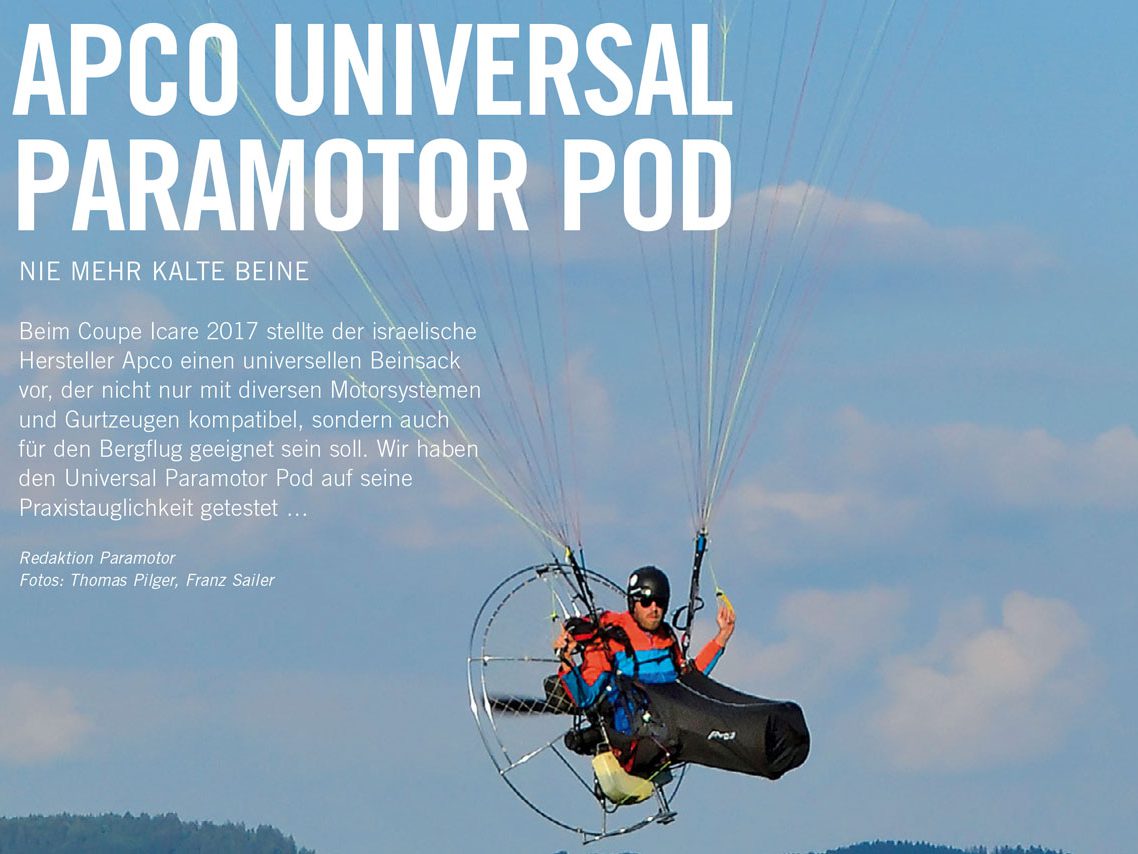
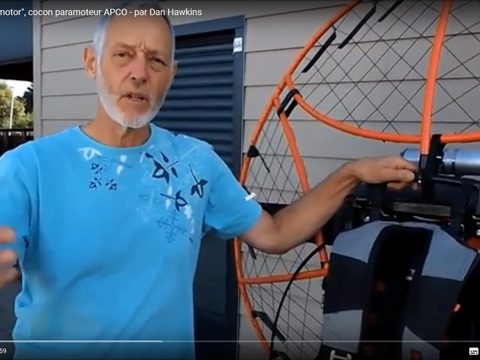
 Ce cocon s’adresse aux paramotoristes qui réalisent de longues ballades, qui ne veulent pas voler en combinaison l’été. Avant l’acquisition, pensez à l’emplacement de votre secours, notamment si celui-ci est sous l’assise de votre sellette (incompatible dans ce cas) ! Pour le test, Dan a utilisé un secours en ventrale connecté aux mousquetons. Celui-ci vient se poser sans problème sur le dessus du cocon.
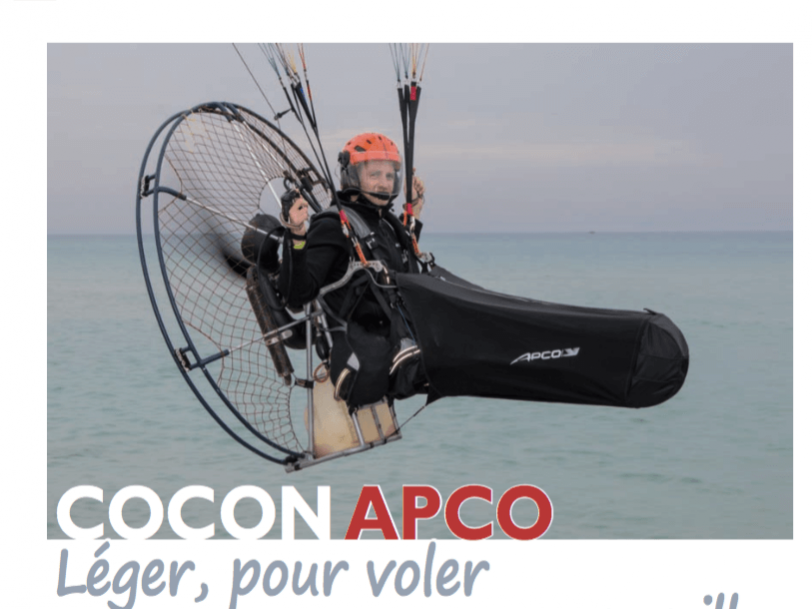
 Ceux qui ont fait du parapente connaissent les lourdes et encombrantes sellettes en forme de menhir… Apco fait fort avec un cocon léger, très léger et bien pensé, à un prix abordable. Il est bien entendu adaptable sur les sellettes paramoteur et pourrait être aussi utile en parapente.
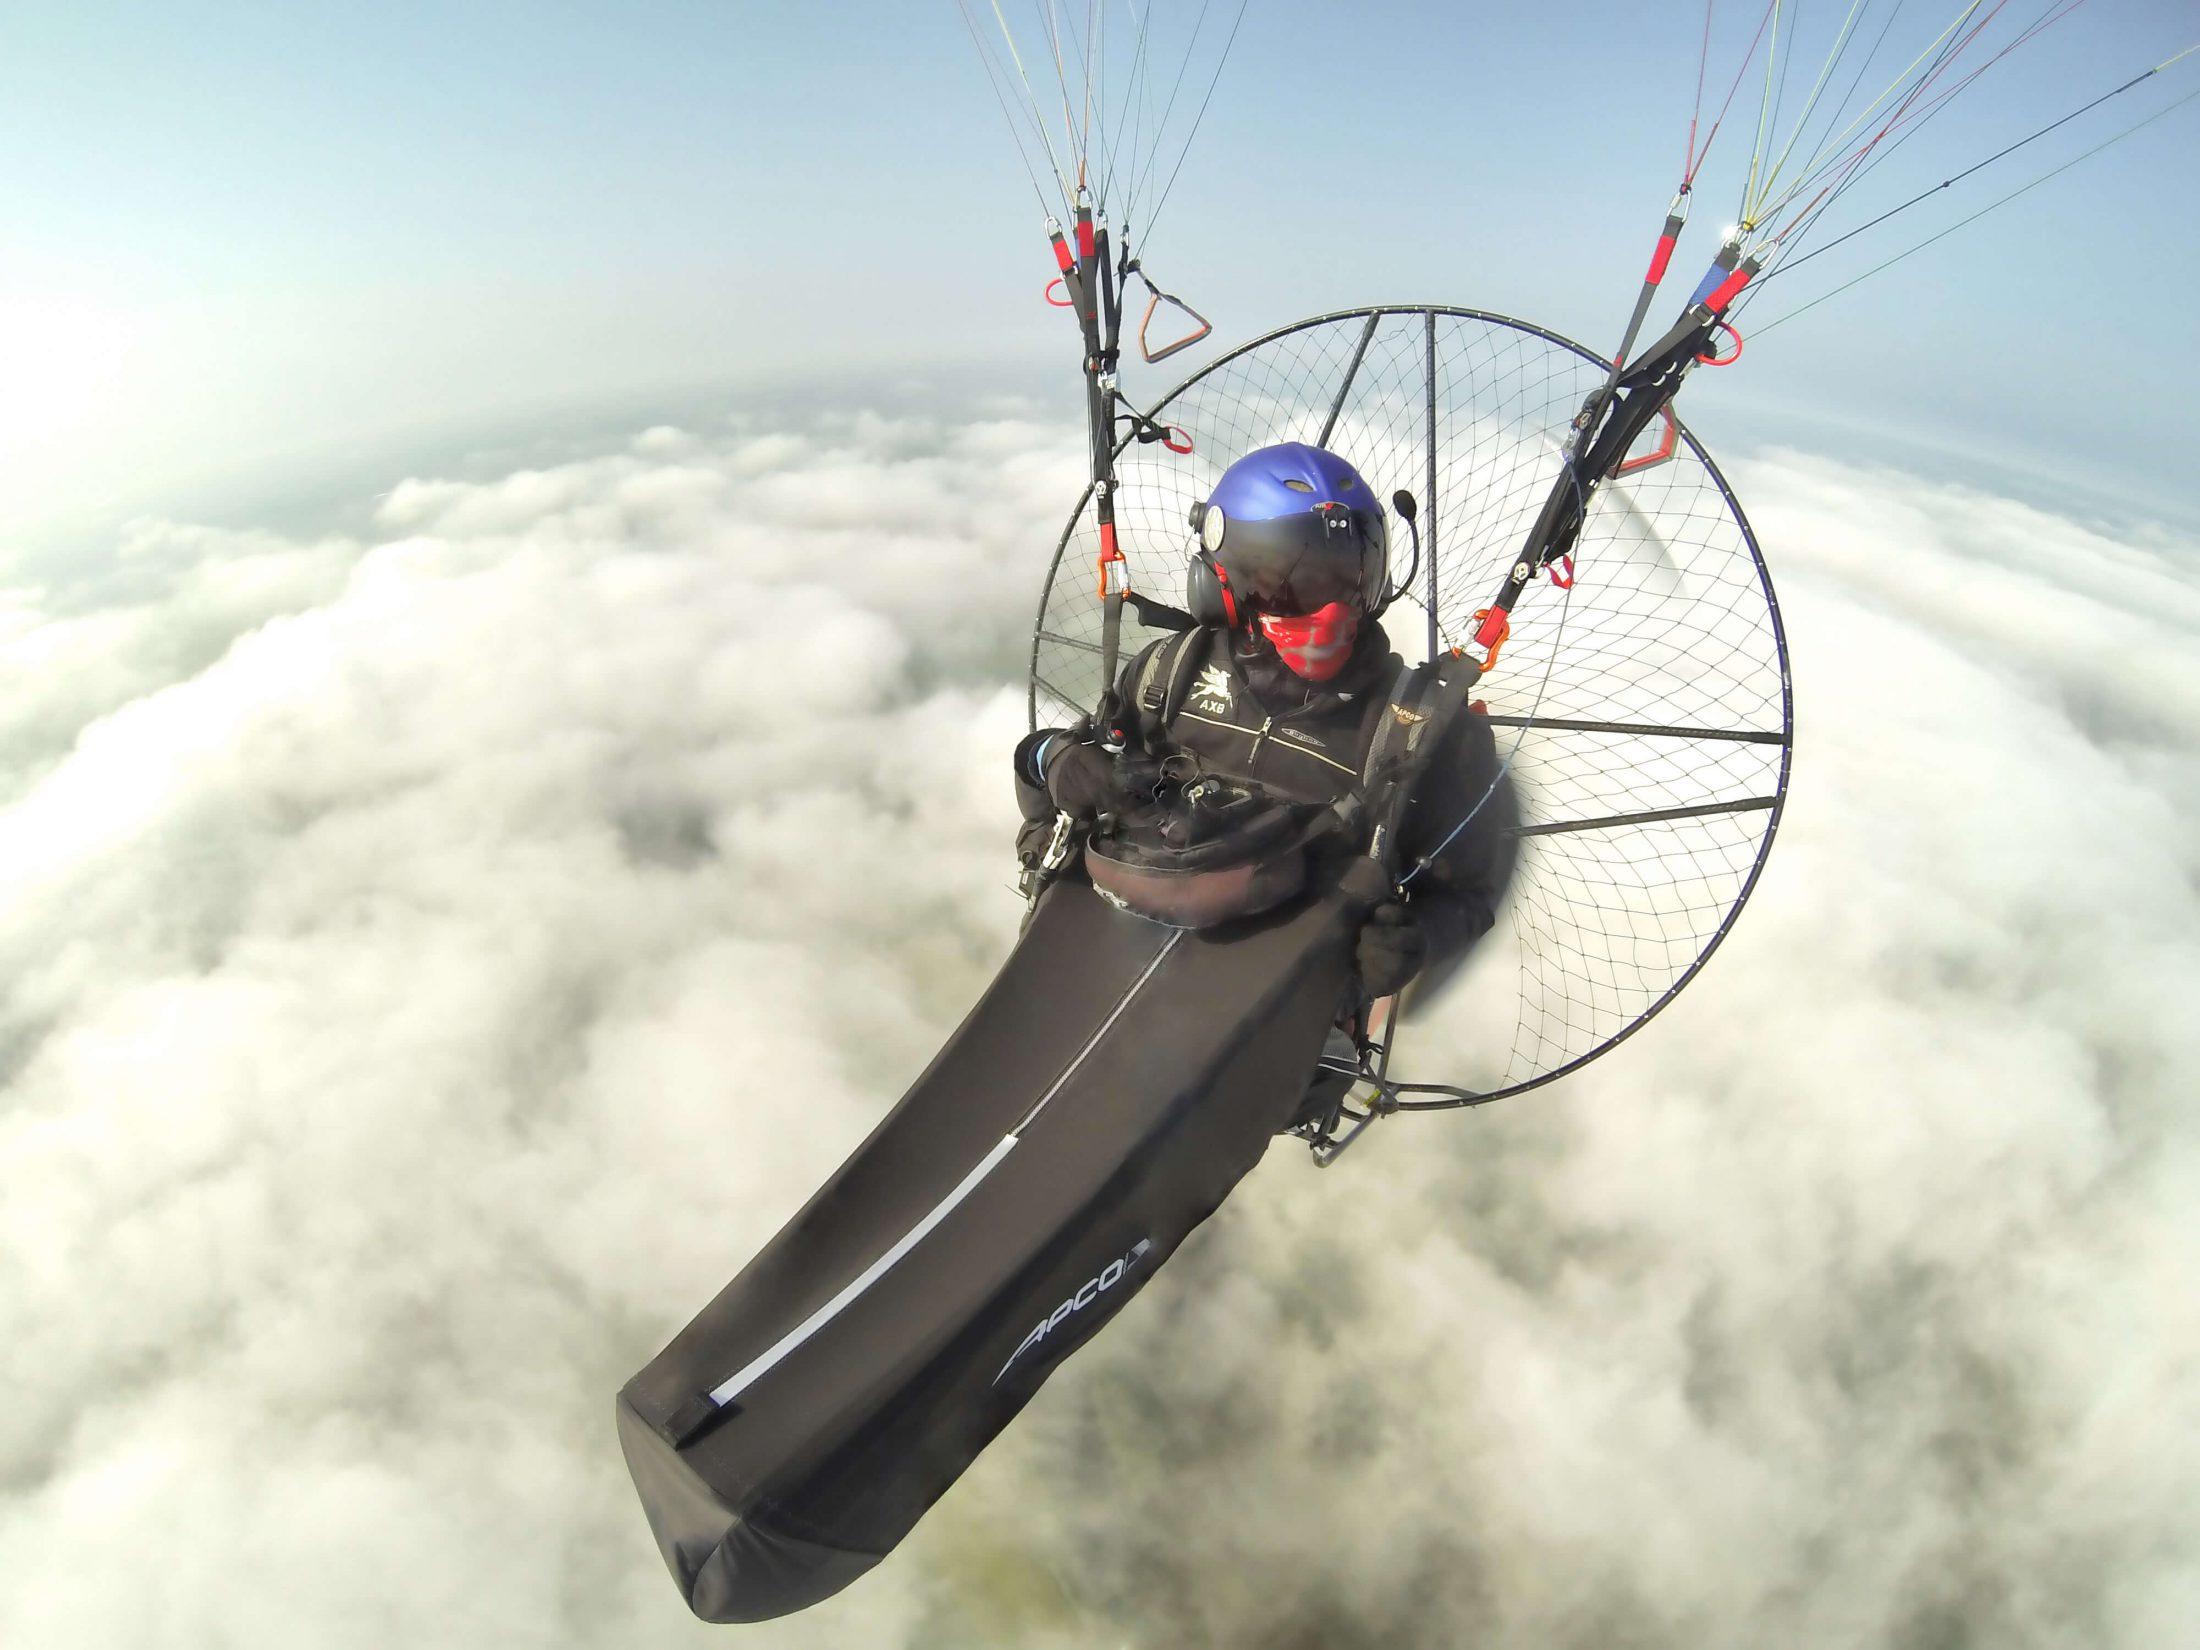
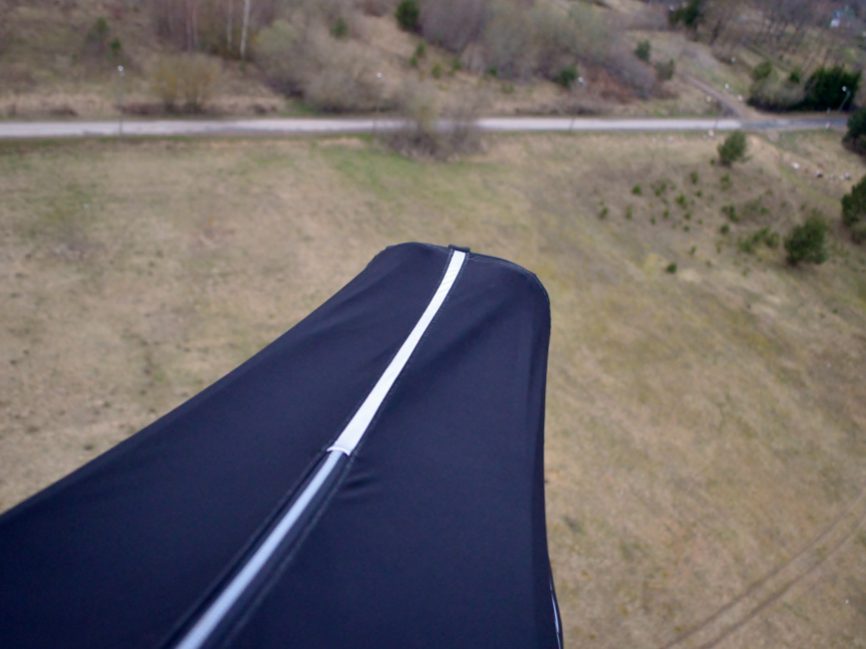
 Yesterday I tried my new paramotor pod in flight.